


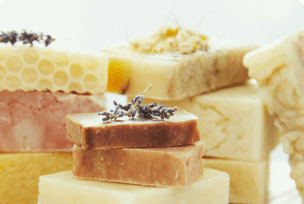


Tim uses data and trends from the likes of market-leading brands, manufacturers and research companies to understand where customers should focus on future new product development.
How to create Festive Soap slices
 Date
30/11/2016
Date
30/11/2016
You Will Need:
- Soap Loaf
- Crystal OPC Foaming Bath Butter
- Crystal Shea Melt & Pour
- Crystal HCVS Melt & Pour
- Colour
- Fragrance
- Pipettes
- Soap cutter/Knife
- Mechanical whisk
- Thermometer
- Alcohol Spray (IMS)
- Square Cake Mould
- Piping Bag

Step 1
We’ll begin by using Crystal Shea & Crystal HCVS to create our soap embeds. Begin by cutting up about 500g of Crystal Shea.


Step 2
After lightly spraying with alcohol spray, pour a thin layer into your square cake mold. I chose not to fragrance this as I didn’t want the final slice to be overpowering. We’ll be adding fragrance to the Crystal HCVS which will be the bulk of the soap loaf later on in the recipe. Leave to set for 20-30 minutes.

Step 3
Repeat step 1 & 2 with alternative colours. Don’t forget to spritz your layers before and after pouring so the layers stick together.


Step 4
Cut a small amount of Crystal Shea into small pieces. Melt and add a couple of drops of fragrance and mix until fully dispersed into the base. This layer will be the base of the entire loaf. Spritz your loaf mold lightly and pour a small amount of the melted Crystal Shea into the the mold.

Step 5
Having left your cake layer embeds to fully set, you should now have the base of some beautiful and bright layer embeds! Now for some final preparations - remove the soap from the mold carefully. Cut the layers into 4 quarters - this will make it easier to work with. Begin to carefully cut the layers into small slices. I used a knife to create a flat edge for one and for the other I used a lacerated soap cutter to create a waved edge. Continue this process until all the soap is in small pieces.


Step 6
Now that you layer from the soap loaf has set we can add the finishing touches to the body of the soap loaf. Lightly spritz the bottom of the soap loaf and add a mixture of you soap embeds until they reach just below the top of the loaf. Shake the loaf to make sure they’re all packed it properly and there’s no gaps.
 Cut your Crystal HCVS into small chunks and add to the microwave until fully melted. Once you base is at 65/70 celsius, sprits the embeds with Alcohol spray and pour to the top of the loaf. Again spray with alcohol spray to remove any bubbles from the surface. Lightly hit the loaf against the surface to make sure the base covers all the embeds.


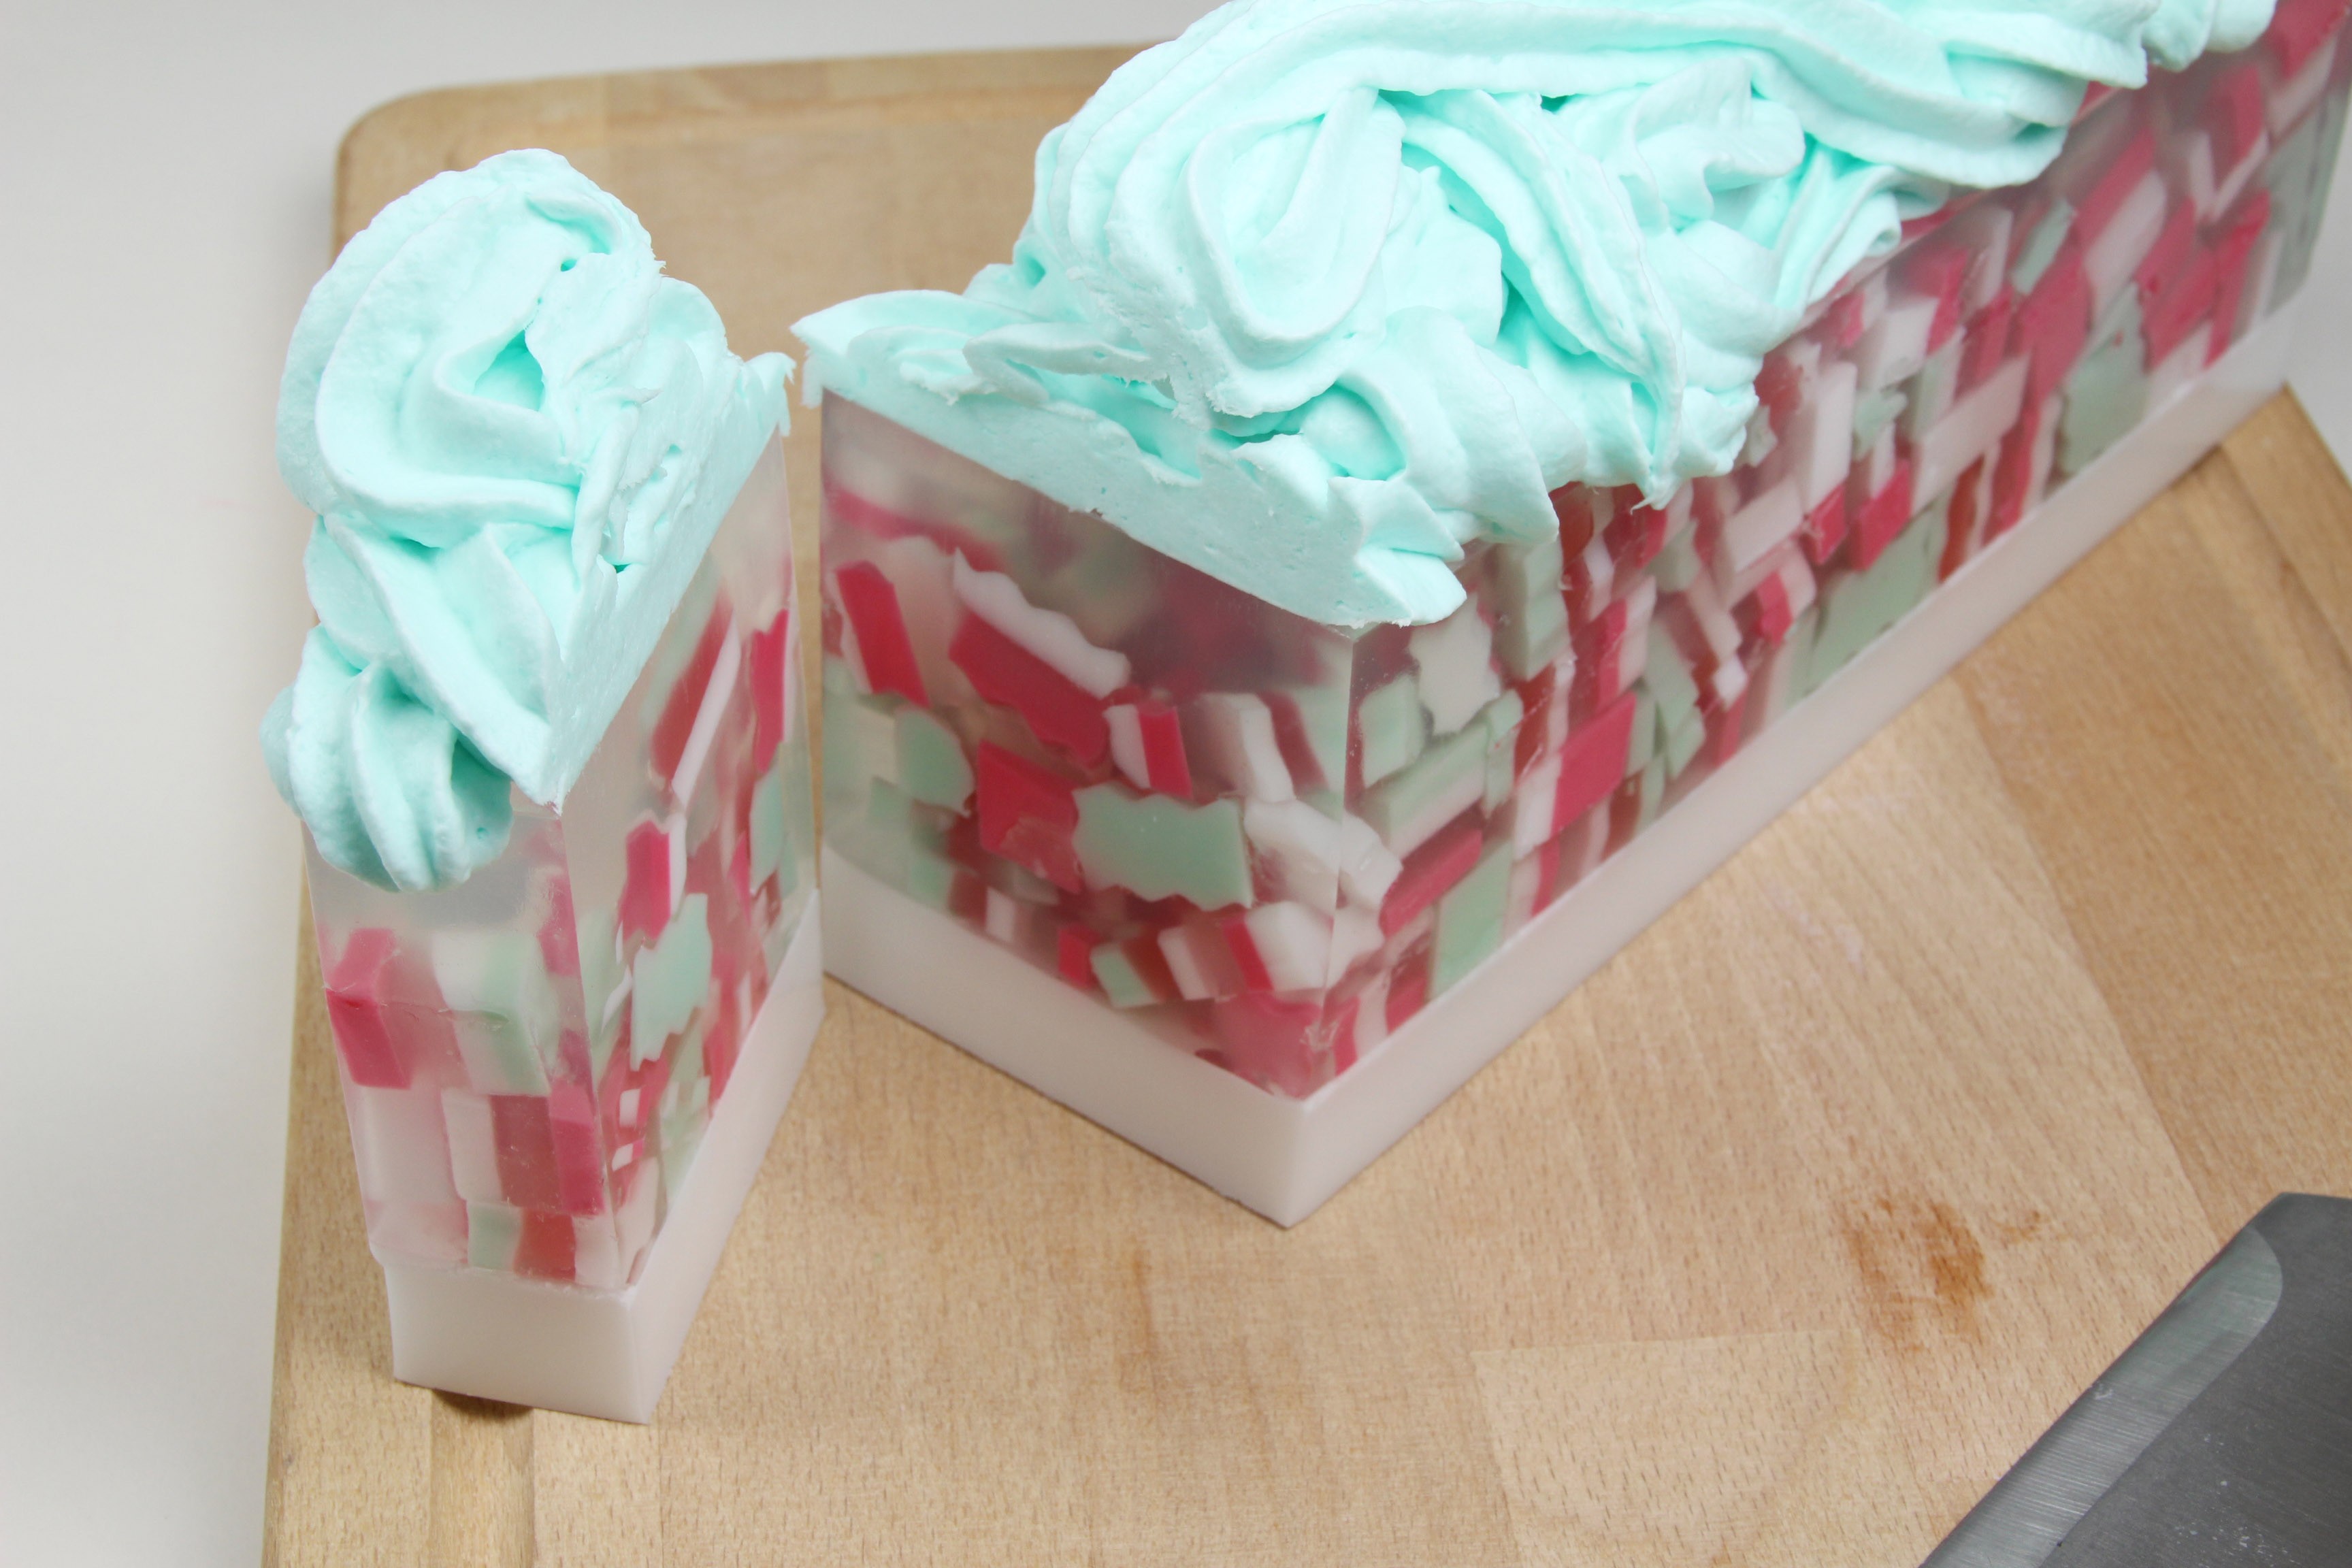
Step 7
Now for the tricky part. We’re going to mix Crystal OPC with Crystal Shea to create a whipped effect on the top of the slices. By mixing the two bases it creates the desired effect of a whip but doesn’t maintain the usual feeling of Crystal OPC. The mixture makes the whip go soft but not sticky which allows us to create this fantastic effect!
We begin by cutting up our Crystal OPC into small workable chunks.

 Add colour and a few drops of fragrance in to the Crystal OPC and whip for 10 minutes. Please note that for the instance of this recipe it is not necessary to add an exfoliant like sugar to the whip as this would dilute when adding the melted Crystal shea

Step 8
Work fast and and to your pipe. Begin piping on to your loaf. Admittedly I’ve still got a lot of practicing to do with my piping technique but none the less the effect I wanted was achieved! Leave over night to set before slicing.


Step 9
Having left to fully set you’ll now notice that your OPC is soft but not sticky! For future reference you can play around with amounts of Crystal Shea VS Crystal OPC if you want it harder etc. Carefully slice your loaf to create your finished soap slices.


 /blog/2016-11-30-how-to-create-christmas-cup-cake-soaps-using-crystal-shea-and-crystal-opc
Our Christmas elves have been busy experimenting with some festive soap creations this week! Here we show you how to create a Crystal Shea and Crystal OPC Foaming Bath Butter christmas cupcake!
You Will Need:-
- Crystal Shea Melt and Pour Soap
- Crystal OPC Foaming Bath Butter
- Colouring
- Fragrances
- Measuring Jugs
- Electric Mixers
- Cosmetic Glitter
- Cupcake base molds


Step 1
Remove your Crystal Shea from the packaging and chop into small pieces. Place in a microwavable jug and heat in short bursts, whilst stirring throughout, until the mixture reaches a smooth consistency.

Step 2
Add a fragrance of your choice. We picked English Rose. You may also add colour in at this stage if you wish, but we left our base a snowy-white.

Step 3
Mix together well.

Step 4
Prepare your molds by laying them on a flat surface and spray with IMS or rubbing alcohol.

Step 5
Pour the Crystal Shea soap base into the cupcake molds. If you see any bubbles forming on the top, a generous spray of rubbing alcohol should get rid of these.

Step 6
Once your cupcake soaps have set, remove carefully from the mold. The second part of this recipe requires this cupcake base to be fully set, so don’t get ahead of yourself!


Step 7
Add your colouring and whip the Foaming Bath Butter using your electric whisk. We chose a festive mint green, but you can use any colour you want.

Step 8
This is where it gets a bit tricky. You need to add this foaming bath butter mixture into a piping bag with a wide nozzle.

Step 9
Pipe the Foaming Bath Butter onto the top of your cupcake bases. We’ve tried to make it look like cupcake frosting. Practice makes perfect at this stage - you just need a steady hand and a calm composure!

Step 10
Top off with a sprinkle of glitter and Ta Dah!! Your Christmas Cupcakes are finished. The Foaming Bath Butter frosting actually sets a lot harder than you might think, so these cupcakes would make the perfect Christmas gift for family and friends this year!
How to make Holly Jolly Festive Soap
Ready for Christmas? It’ll be here before you know it, so get ready with this festive recipe for yourself or as a great gift for family and friends.
HERE'S WHAT YOU'LL NEED:
- 1KG Crystal ST Soap Base
- 1KG Crystal White ST Soap Base
- Red Mica
- Green Mica-
- Rubbing Alcohol
- Christmas Pudding Fragrance Oil
- Orange Essential Oil
- Loaf Style Silicone Mould
- Larger Loaf Style Silicone Mould
- Heatproof Containers
- Soap Slicer
Step 1
Take your 1kg of Crystal ST out of its packaging and cut into microwavable chunks.


Step 2
Place soap chunks in a heatproof container and heat at one-minute intervals until melted, stirring between each interval.

Step 3
Now colour your base! We used just a bit of a lovely red shimmer mica, but feel free to use your favourite red mica. Add it to your base of approximate temperature of 65°C and mix thoroughly until even throughout. Dilute with some rubbing alcohol to reduce bubbles.

Step 4
Spray your silicone moulds with rubbing alcohol, then add, approximately, a 3cm layer of your red base as a base layer in your small loaf mould, and then add a 1cm layer to the bottom of your flat mould. Spray both surfaces with the alcohol and set both aside to dry.


Step 5
Now, cut your Crystal White ST base into microwavable chunks, and place in a heatproof container. Microwave at one-minute intervals until melted through, stirring between each interval.
Step 6
Add a few drops of Christmas Pudding fragrance and a few drops of Orange fragrance to the melted base, making sure not to add more than 2% of the whole solution.


Step 7
Make sure that your red layer in the larger mould has set, if so, spray it with rubbing alcohol and then add a 1cm layer of your fragranced Crystal White ST (for perfect layers make sure it is not higher than 65°C). Spray the surface with alcohol, and set aside to dry.

Step 8
Separate your remaining White ST into two heatproof containers. Dissolve your green mica in alcohol to ensure even colour distribution. To one, add the green mica gradually, stirring thoroughly after each addition until you reach a bright green colour. Set aside the remaining white melted base for later.

Step 9
Test the red layer in your smaller silicone mould. If firm to the touch, spritz with rubbing alcohol and add around a 3cm layer of your green base. Spray again the surface with alcohol.

Step 10
While the green layer sets, remove your red and white slab from your flat silicone mould and slice into your desired size. We went for a cube for a great ‘sweetie’ effect, but they could equally be chopped into small triangles, or grated into curls, creativity is yours. Once done, set aside for later use.

Step 11
Wait until your green layer has hardened, then spray again with alcohol. The remaining white soap may need to be popped in the microwave for a minute to re-melt any solidified parts. When melted throughout again, pour over the green layer, until the white layer is around 3cm from the surface of the mould- this is to ensure your toppings don’t cause an overflow.

Step 12
Working quickly, scatter the cubes across the surface of the white layer, making sure to push some of the cubes down into the surface before the top layer dries.

Step 13
Leave to set for 12 hours, then remove from the silicone mould. Taking a soap cutter of your choice (we chose a festive wavy cutter), cut your soaps into slices from top to bottom, and enjoy!


Tagged in:
Recipe
share

Timothy Pulleyn
Marketing Manager